- использование ноутбука jupyter в pycharm — такого каталога нет
- 3 ответа
- Jupyter notebook support
- Quick start with the Jupyter notebook in PyCharm
- Get familiar with the user interface
- Notebook editor
- Notebook toolbar
- Tool windows
- NeilAlishev / Instruction.md
- Jupyter Notebook does not sync with PyCharm
- 5 Answers 5
- Manage Jupyter notebook servers
- Launch a local Jupyter server
- Stop the Jupyter server
- Restart the kernel
- Configure the Jupyter server
использование ноутбука jupyter в pycharm — такого каталога нет
Я пытаюсь использовать блокнот jupyter из PyCharm 2016.1. Я открываю ранее созданный блокнот iPython, щелкаю ячейку с кодом и запускаю ее. Мне предлагается запустить jupyter notebook с URL-адресом по умолчанию и нажать OK. Вот сообщения об ошибках из окна Выполнить:
IPython Notebook включен в PyCharm с URL-адресом по умолчанию.
3 ответа
Jupyter хранит информацию о конфигурации в файле jupyter_notebook_config.py . Вы можете найти его в C:\Users\ \.jupyter в Windows или
\.jupyter в Linux. Измените запись c.NotebookApp.notebook_dir на место, где вы храните свои записные книжки. Вы также можете использовать командную строку, чтобы установить его:
в двойные кавычки в Windows, если в имени пути есть пробел.
Если у вас был установлен iPython перед обновлением до jupyter, тогда процесс миграции jupyter использовал настройки из вашего старого файла конфигурации iPython. Может быть, прошло много времени с тех пор, как вы изменили iPython, и именно поэтому вы наблюдаете неожиданное поведение при запуске или запуске от jupyter.
Кроме того, эта команда jupyter может помочь устранить проблемы с каталогом / путем:
У меня была такая же проблема, и я решил ее с помощью следующей команды:
Мне было предложено заменить текущую конфигурацию конфигурацией по умолчанию. Таким образом, если вы в порядке, избавляясь от текущей конфигурации, это простой вариант.
Я решил эту проблему:
Открытие cmd от имени администратора
Обратите внимание: перед запуском вышеуказанного скрипта убедитесь, что Anaconda и Jupyter Lab должны быть удалены.
Источник
Jupyter notebook support
With Jupyter Notebook integration available in PyCharm, you can easily edit, execute, and debug notebook source code and examine execution outputs including stream data, images, and other media. 
You can try JetBrains DataSpell, a new IDE that is tailored to the data science workflow. It provides a brand-new experience for working with Jupyter notebooks. The IDE is available as part of the Early Access program to collect early feedback and gain insight into the needs and behavior of data scientists. See the JetBrains DataSpell Getting Started Guide for more details.
Notebook support in PyCharm includes:
Editing and preview:
Ability to present a notebook as source code with textual cell definitions and manipulate cells as regular code.
Live preview of the cell execution output and Markdown content.
Auto-saving changes that you make in your files. Saving is triggered by various events, for example, closing a file or a project, or quitting the IDE.
Ability to create line comments Ctrl+/ .
Ability to run cells and preview execution results.
Shortcuts for basic operations with Jupyter notebooks.
Ability to recognize .ipynb files and mark them with the icon.
Quick start with the Jupyter notebook in PyCharm
To start working with Jupyter notebooks in PyCharm:
Open or create an .ipynb file.
Execute any of the code cells to launch the Jupyter server.
Analyze execution results in the Preview pane.
Get familiar with the user interface
Mind the following user interface features when working with Jupyter notebooks in PyCharm.
Notebook editor
In PyCharm, you can work with Jupyter notebook files using three viewing modes:
In this mode, you can add notebook cells and edit them.

In this mode, you can both edit cells and preview their output. This is the default viewing mode for Jupyter notebooks in PyCharm.

In this mode, you can preview markdown and raw cells as well as code cell execution results.

Editing and preview modes reflect the currently selected PyCharm user interface appearance.
Notebook toolbar
The Jupyter notebook toolbar provides quick access to all basic operations with notebooks:

Opens the Jupyter Quick List for easy access to the basic notebook operations:
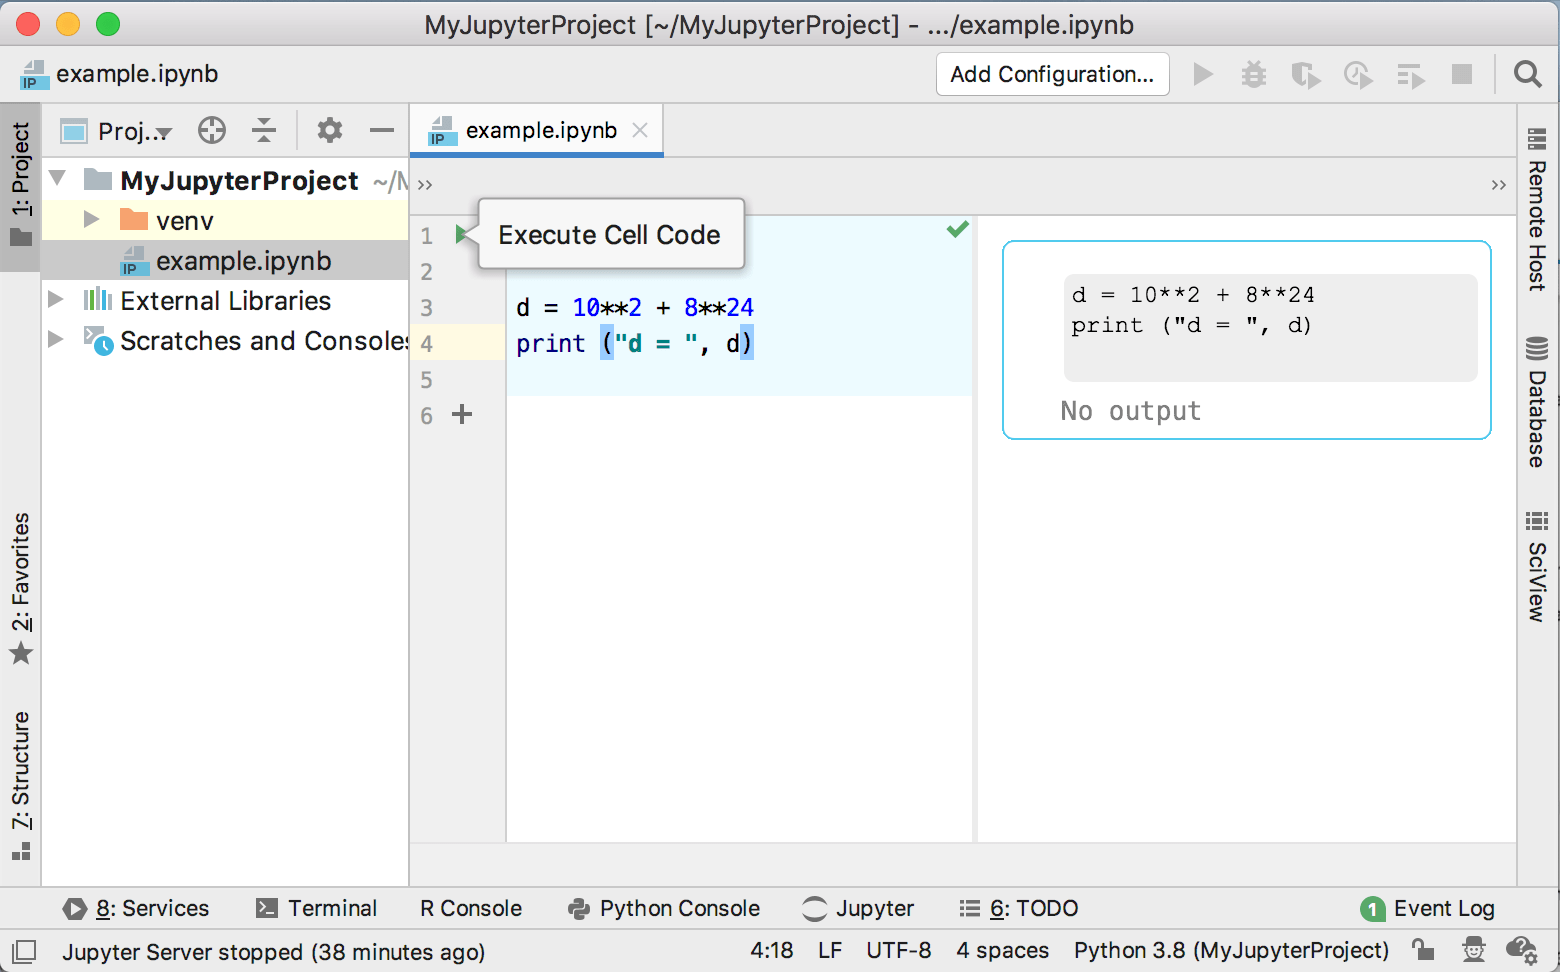
Run Cell : Executes the current cell Ctrl+Enter .
Run All Above : Executes all cells above excluding the current cell.
Run All Below : Executes the current cell and all cells below.
Run Cell and Select Below : Executes the current cell and navigates to the below cell ( ).
Debug Cell : Starts the debugging session for the current cell ( Alt + Shift + Enter for Windows or ⌥⇧↩ for macOS).
Add Code Cell Above : Adds a new code cell above the current cell ( Alt + Shift + A for Windows or ⌥ ⇧ A for macOS).
Add Code Cell Below : Adds a new code cell below the current cell ( Alt + Shift + B for Windows or ⌥ ⇧ B for macOS).
Select Cell Above : Selects the cell above the current cell.
Select Cell Below : Selects the cell below the current cell.
Clear Outputs : Erases all execution output in the Preview area.
Start Jupyter Server : Launches the Jupyter server.
Stop Jupyter Server : Stops the Jupyter notebook.
Configure Shortcuts : Opens the Settings/Preferences | Keymap | Python dialog to alter the default keymaps.


Tool windows
The Server Log tab of the Jupyter tool window appears when you have any of the Jupyter server launched. The Server log tab of this window shows the current state of the Jupyter server and the link to the notebook in a browser.

It also provides controls to stop the running server ( ) and launch the stopped server ( ).
The Jupyter Variables tool window the detailed report about variable values of the executed cell.

You can use the icon to manage the variables loading policy.
Источник
NeilAlishev / Instruction.md
Это очень частая проблема, которая появляется на некоторых ОС. Дело в том, что среда разработки запустилась, но браузер не открылся автоматически.
Как решить эту проблему?
В первую очередь, попробуйте запустить Anaconda Navigator с правами администратора (правой кнопкой мыши нажать на иконку Anaconda Navigator, во всплывающем меню выбрать «Запуск от имени администратора»). Теперь, запустите Jupyter Notebook.
Если все равно не открывается окно браузера, выполните инструкции описанные далее.
Запустите программу, которая называется CMD.exe Prompt (может также называться Anaconda Prompt), нажав на Launch. Эта программа находится тут же, в Anaconda Navigator, рядом с программой Jupyter Notebook. После нажатия на Launch, должна открыться командная строка. Если этой программы нет в Anaconda Navigator, можно найти программу «Anaconda Prompt» на компьютере с помощью обычного поиска по программам.
В этой командной строке мы должны выполнить команду jupyter notebook list (если команда не сработала, попробуйте сначала выполнить команду jupyter notebook list -V , а потом уже команду jupyter notebook list )
Вышеупомянутая команда показывает тот адрес, по которому мы сможем получить доступ к нашей среде разработки. Адрес имеет вид: http://localhost:8888/?token=СЛУЧАЙНАЯ_ПОСЛЕДОВАТЕЛЬНОСТЬ_БУКВ_И_ЦИФР
Вам необходимо скопировать этот адрес, вставить его в адресную строку вашего браузера и перейти на эту страницу. После этого откроется среда разработки Jupyter Notebook. Можно работать.
Чтобы скопировать адрес из командной строки Windows, необходимо кликнуть правой кнопкой мыши в любом месте командной строки. В выпадающем меню надо выбрать пункт «пометить». После этого, можно будет выделить курсором интересующий нас адрес. После того, как адрес будет выделен, надо нажать на клавишу Enter на вашей клавиатуре. Готово — адрес скопирован в буфер обмена. Можно его вставлять в адресную строку браузера.
ОС Linux или Mac OS: Надо просто открыть терминал и там написать jupyter notebook Полученный адрес надо скопировать в адресную строку браузера.
Источник
Jupyter Notebook does not sync with PyCharm
Suppose that I create an .ipynb in PyCharm, and then start an IPython Notebook kernel. Then if I modify the notebook in the browser, how do I get the changes back to PyCharm?
There is a ‘synchronize’ function when I right-click the file name in PyCharm but it does not seem to do anything.
5 Answers 5
One possible solution is:
- Once started the Jupyter server started, make sure the file edited through Jupyter is closed in Pycharm
- Save the Jupyter Notebook: ‘Save and checkpoint’ method
- In Pycharm, synchronize the notebook
- The notebook can be now opened and the changes appear
I guess the reason of the error is that while the notebook is opened is pycharm, pycharm edit it and overwrite at anytime the modications done by the jupyter server. Yet, it is only a guess, I have no certainty about the origin of such behaviour.

Try to save using checkpoints. You can always go to the last checkpoint you added
In the browser, go to File, select Save and Checkpoint. It should appear a window saying: «The notebook file has changed on disk since the last time we opened or saved it. Do you want to overwrite the file on disk with the version open here, or load the version on disk (reload the page) ?»
Then press overwrite, and the changes are overwritten to the file on your pc. Apparently the syncro it’s not realtime (I guess this is a bug, since a window pops up in pycharm, but it seems useless), if you have your ipynb open, you should close it and reopen it to see the update.
Источник
Manage Jupyter notebook servers
In PyCharm, you can execute code cells using:
Managed server – a Jupyter server that is automatically launched by PyCharm for the current project. It will be terminated when you close PyCharm.
Configured server – any Jupyter server that you connect to by specifying its URL and token.
Launch a local Jupyter server
To run a Jupyter server just execute any code cell. When you initiate cell execution, PyCharm launches the Jupyter server on the local host using any available port (by default, it is the 8888 port). You can switch to the Jupyter Server tool window to preview server’s configuration details.
Once the server is launched, it is shown as a managed server in the list of the servers in the Jupyter toolbar. You can also see the automatically created server kernel in the list of kernels. This kernel is based on the PyCharm Python interpreter.

Stop the Jupyter server
To stop any running server, switch to the Jupyter Server tool window and click the icon or select the corresponding command in the Jupyter Quick List. Preview the status in the Server Log window.

Once you have shut down the server, the current session is terminated. When you start the server next time using the icon or the Jupyter Quick List, execution results for all previous sessions and all notebooks will be lost.
Restart the kernel
You might want to refresh your calculations without shutting down the entire server and affecting any other notebooks. To restart the currently running kernel, click on the Jupyter notebook toolbar and preview the status in the Server Log window.

You can execute your notebook code cells on a specific Jupyter servers.
Configure the Jupyter server
When you launch any managed server, by default it uses the current Python interpreter and the automatically selected port. However, you can select any other interpreter available in your PyCharm instance and specify an alternative port. You can also connect to any configured server if you know its URL and token.
The Jupyter server connection settings are user-specific.
To open the server settings, select Configure Jupyter Server in the list of the Jupyter servers. 
Configure the server options:
To customize the default Jupyter server, in the Jupyter Server dialog, select Managed Server and from the Python interpreter list select any local Python interpreter. 
To change the automatically detected port, type its number in the Port field. 
To connect to any running Jupyter server, in the Jupyter Server dialog, select Configured Server and specify server’s path including an URL and a token. 
Once done with configuring, click Apply and OK .
Then to explicitly switch to the configured server, select Switch to current Jupyter Server from the list of the servers in the Jupyter toolbar.

Execute any code cell to run the managed server or to connect to the running configured server.
If you see the following warning, the kernel of the newly configured server doesn’t match your current Python interpreter. For example, it might have a different set of the installed packages.

You can register your Python interpreter as a kernel on the configured server by clicking the corresponding link. After that you can see it in the list of the kernels for the configured server.
Источник


